Page History
| Table of Contents |
|---|
Overview
CardioLog Analytics provides a SharePoint solution (cardiologtrackingagentfeature.wsp) for installing the JavaScript tracking code on all farm pages. This SharePoint solution includes a farm-scoped feature named CardioLog Analytics, which can be activated or deactivated through SharePoint's Central Administration.
The deployment of the SharePoint solution is done automatically through step 2 of the CardioLog Analytics configuration wizard. The wizard should run with SharePoint farm administrator privileges.
In this article you can find details on the manual installation procedure.
| Anchor | ||||
|---|---|---|---|---|
|
The manual deployment of the SharePoint solution includes the following steps:
Installing the CardioLog Tracking Agent web application on the SharePoint WFE servers
Installing the 'CardioLog Analytics' SharePoint Feature on the SharePoint farm
Installing the 'CardioLog Tracking Agent' App on SharePoint modern sites
| Anchor | ||||
|---|---|---|---|---|
|
- Copy the [CardioLog Installation Folder]\CardioLogAgent folder to your SharePoint WFE server to C:\Program Files\Common Files\Microsoft Shared\web server extensions\1X\TEMPLATE\LAYOUTS\ folder (1X - 12 for MOSS 2007, 14 for SharePoint 2010/SharePoint 2013/SharePoint 2016/SharePoint 2019)
Edit the value of the following key in the CardioLogAgent\web.config file, located in the <appSettings> section -
Info icon false <add key="CardioLogAgentRoot" value="/_layouts"/>
- Open IIS Manager, right click the CardioLogAgent directory located under the SharePoint website _layouts folder and select "Convert to Application". The selected application pool should be the SharePoint website application pool.
- Repeat step 3 for each SharePoint website you wish to monitor.
- Repeat steps 1 - 4 for each SharePoint WFE server.
| Anchor | ||||
|---|---|---|---|---|
|
- Go to [CardioLog Installation Folder]\CardioLog\Configuration\AgentFeature\[SharePoint version]\
- Copy the solution file "cardiologtrackingagentfeature.wsp" to your SharePoint application server to C:\Program Files\Common Files\Microsoft Shared\web server extensions\1X\BIN folder (1X - 12 for MOSS 2007, 14 for SharePoint 2010, 15 for 15 for SharePoint 2013, 16 for SharePoint 2016 and SharePoint 2019)
Execute the following commands from command prompt (cmd) with the SharePoint farm administrator privileges in order to add and deploy the solution to the SharePoint farm (edit the directory path):
Info icon false cd "C:\Program Files\Common Files\Microsoft Shared\Web Server Extensions\1X\BIN"
stsadm.exe -o addsolution -filename "C:\Program Files\Common Files\Microsoft Shared\Web Server Extensions\1X\BIN\CardioLogTrackingAgentFeature.wsp"
stsadm.exe -o deploysolution -name CardioLogTrackingAgentFeature.wsp -immediate -allowgacdeployment
stsadm.exe -o activatefeature -name CardioLogAnalytics -force
Upon installing the CardioLog Analytics feature, it is automatically activated and data is being collected.
To view the deployed solution in SharePoint 2013, SharePoint 2016 or SharePoint 2019, go to Central Administration > System Settings > Manage farm solutions
SharePoint 2013 - Solution Management
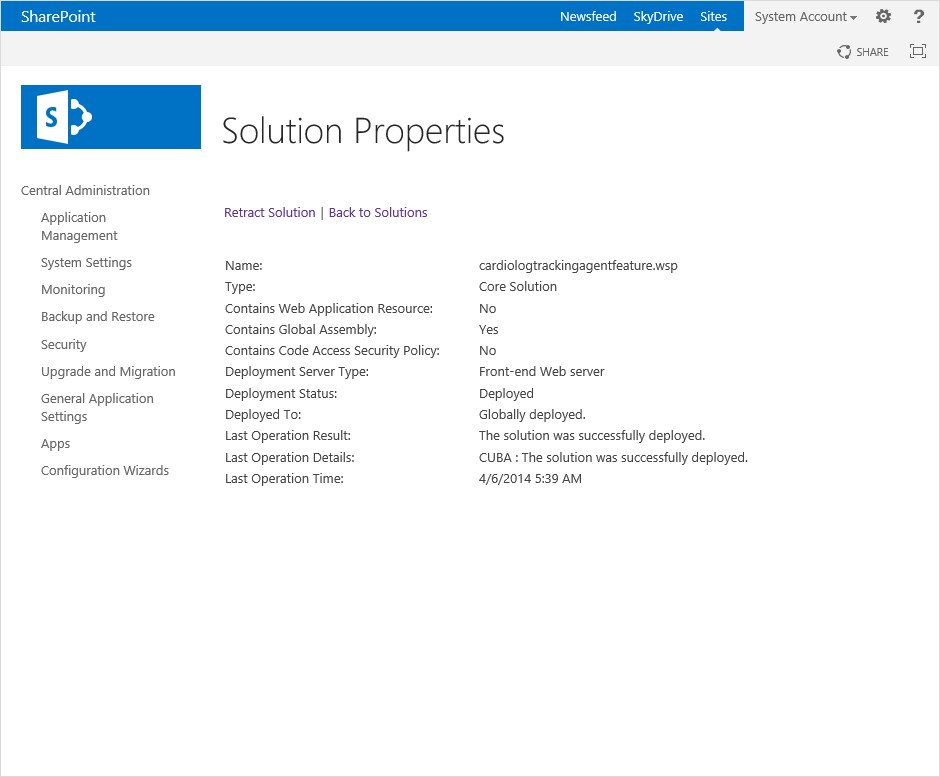
In the Solution Properties, click cardiologtrackingagentfeature.wsp and verify that the solution was successfully deployed to all web front ends.
SharePoint 2013 - Solution Properties
To view the deployed solution in SharePoint 2010, go to Central Administration > System Settings > Manage farm solutions
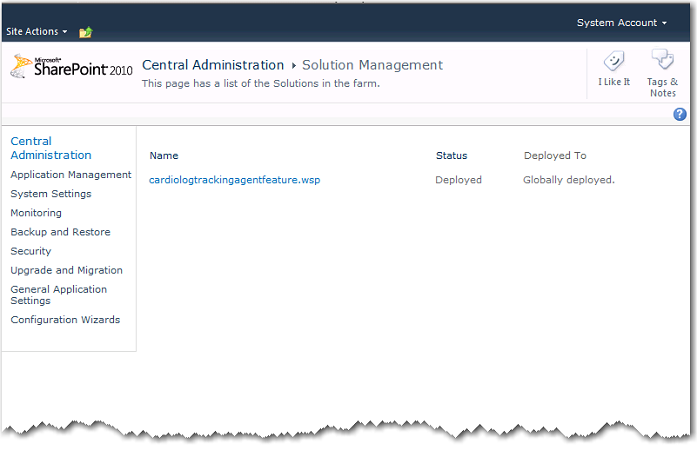
SharePoint 2010 - Solution Management
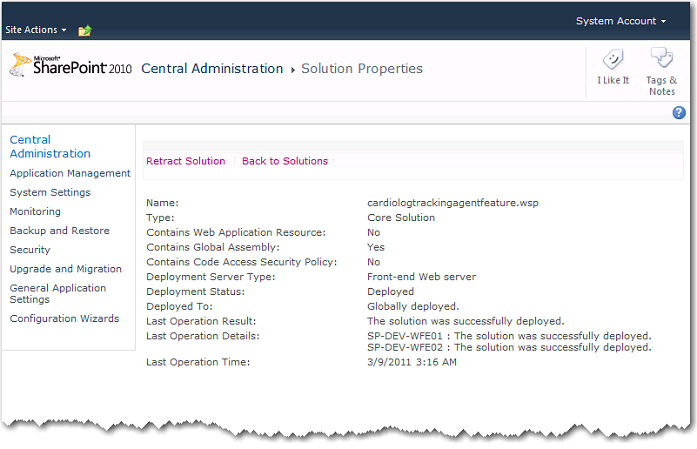
In the Solution Properties, click cardiologtrackingagentfeature.wsp and verify that the solution was successfully deployed to all web front ends.
SharePoint 2010 - Solution Properties
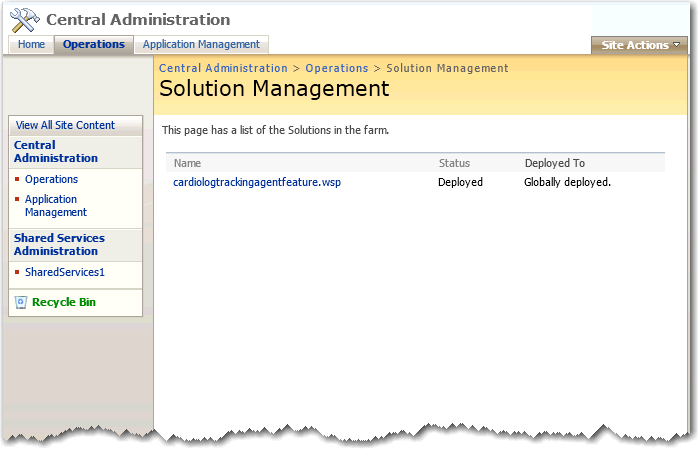
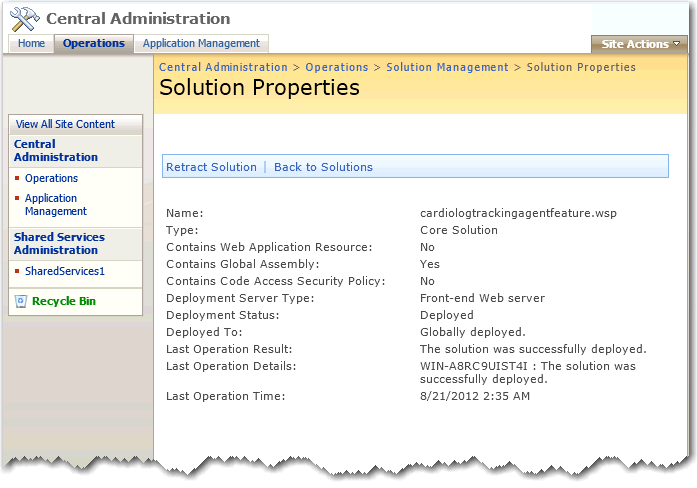
To view the deployed solution in MOSS 2007, go to Central Administration > Operations > Solution Management
MOSS 2007 - Solution Management
In the Solution Properties, click cardiologtrackingagentfeature.wsp and verify that the solution was successfully deployed to all web front ends.
MOSS 2007 - Solution Properties
| Anchor | ||||
|---|---|---|---|---|
|
- Go to the Administration section of the navigation pane, click System Configuration, select SharePoint Tree Adaptor and then select your SharePoint 2019 farm.
- Click on Download Sppkg button to download the deployment package.
SharePoint Tree Adaptor Settings
Note: The deployment package includes a PowerShell script that deploys the modern sites integration app on the App catalog and on all selected site collections and their sub-sites. - Right click the sppkg-deployment-archive.zip file, select Properties > General and click on "Unblock" before unzipping it.
- Open the sites.json file and verify that all of the site collections you would like to track are included.
- Execute the RUN_SCRIPT.ps1 script in PowerShell. Make sure the you have the following prerequisites before executing the PowerShell script:
- You must have PowerShell version 5.1 or higher.
- The credentials of the SharePoint farm administrator.
- Make sure that the account that you are using is not a system account.
- Upon installing the CardioLog Tracking Agent app, it is automatically activated and data is being collected.
To view the installed app in SharePoint 2019, go to SharePoint App Catalog > Apps for SharePoint > CardioLog Tracking Agent and/or the monitored site > Site Contents > CardioLog Tracking Agent
SharePoint App Catalog
SharePoint Site Contents
| Anchor | ||||
|---|---|---|---|---|
|
Upon installing the CardioLog Analytics feature, it is automatically activated and data is being collected.
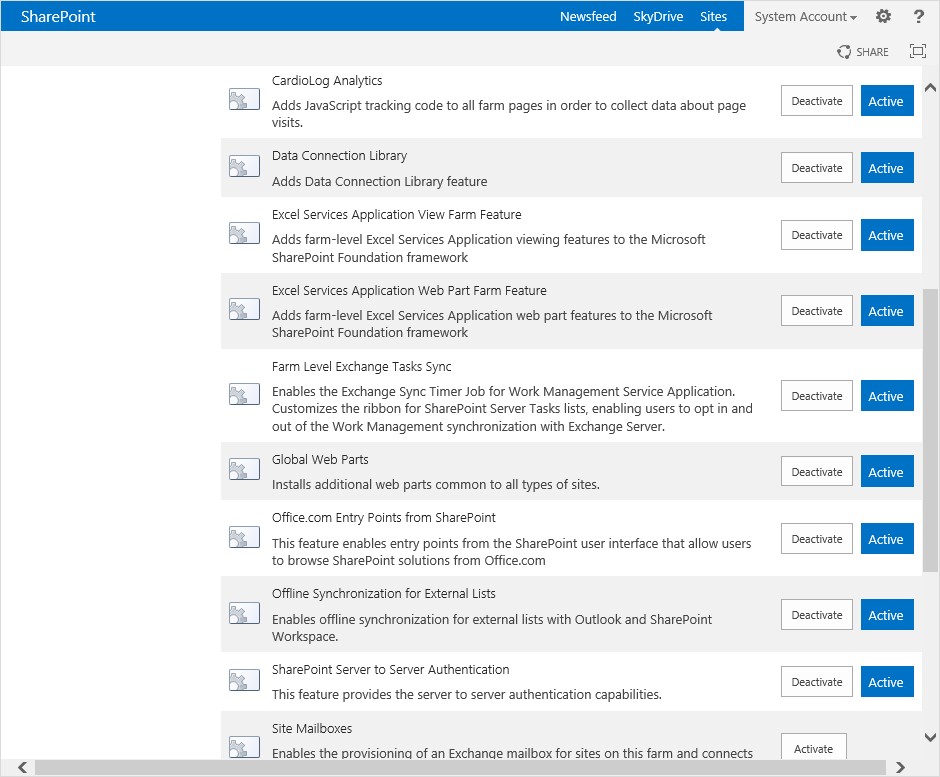
To deactivate the CardioLog Analytics feature in SharePoint 2013/2016/2019, go to Central Administration > System Settings > Manage farm features
SharePoint 2013 - Manage farm features
...

