
Contents
- Configuration Prerequisites
- Running the Configuration Wizard
- Configuring the CardioLog Analytics Tracking Code
- Deploy the CardioLog Tracking Code Through a SharePoint Solution
- Manually Add the JavaScript Tracking Code to Your Master Pages
- Uninstalling the CardioLog Analytics Tracking Agent Feature
- Configuring the SharePoint Online Site Tree Structure
- Configuring Multiple Site Collections
- Configuring Multiple SharePoint Online Tenants
- Updating the CardioLog Tracking Code on Multiple Site Collections
Configuration Prerequisites
CardioLog Analytics allows you to easily integrate with Microsoft's SharePoint Online for both intranet and public internet SharePoint sites.
Following the product installation and before running the Configuration Wizard, please do the following:
- Configure a public DNS name for the CardioLog application server.
- If you have a secured SharePoint Online site, create a certificate (Requires purchase of an SSL certificate from a certificate authority) for the CardioLog application server and configure SSL for the CardioLog web application in IIS.
- Verify that you have a user account with the SharePoint Administrator role in Office 365 Admin Center.
- Click the CardioLogAgent web application in IIS, choose Authentication, enable Anonymous Authentication and disable Windows Authentication.
In [CardioLog Installation Folder]\CardioLogAgent\Web.config, update the following key values (edit the CardioLog server public DNS name):
- Verify that the CardioLog Tracking Agent web application is accessible over the internet by browsing to https://cardiologserverdnsname/CardioLogAgent/ca.aspx (edit the CardioLog server public DNS name).
Note: The CardioLog server public DNS name should be accessible over the internet.
Running the Configuration Wizard
Upon activating CardioLog Analytics, the Configuration Wizard will be displayed. This wizard will help you configure the SharePoint Tracking Agent, which is a tool designed to monitor visitor behavior in SharePoint, and the SharePoint Adaptor, which provides the structure of your SharePoint Online tenant. Login to the CardioLog server with the CardioLog service account and verify that it has the required permissions before running the wizard.
- Launch CardioLog. If the Configuration Wizard doesn't launch automatically, you can run it manually by clicking on Administration in the Navigation pane and then selecting System Configuration. Click Configuration Wizard to restart CardioLog and begin the configuration process.
- In the Welcome dialog, select the desired UI language and date format. Under SharePoint Version, select SharePoint Online and then click Next.

Configuration Wizard You can add the tracking code by either deploying the CardioLog tracking code through a SharePoint solution, OR manually adding the JavaScript tracking code to your master pages.
Note: You may select only one option to add the tracking code.

Configuration Wizard Step 2a: SharePoint Online Usage TrackingDeploy the CardioLog tracking code through a SharePoint solution
- Browse to your SharePoint Online site Solution Gallery (Replace the website root URL with yours): [https://intlock.sharepoint.com]/_catalogs/solutions/forms/allitems.aspx
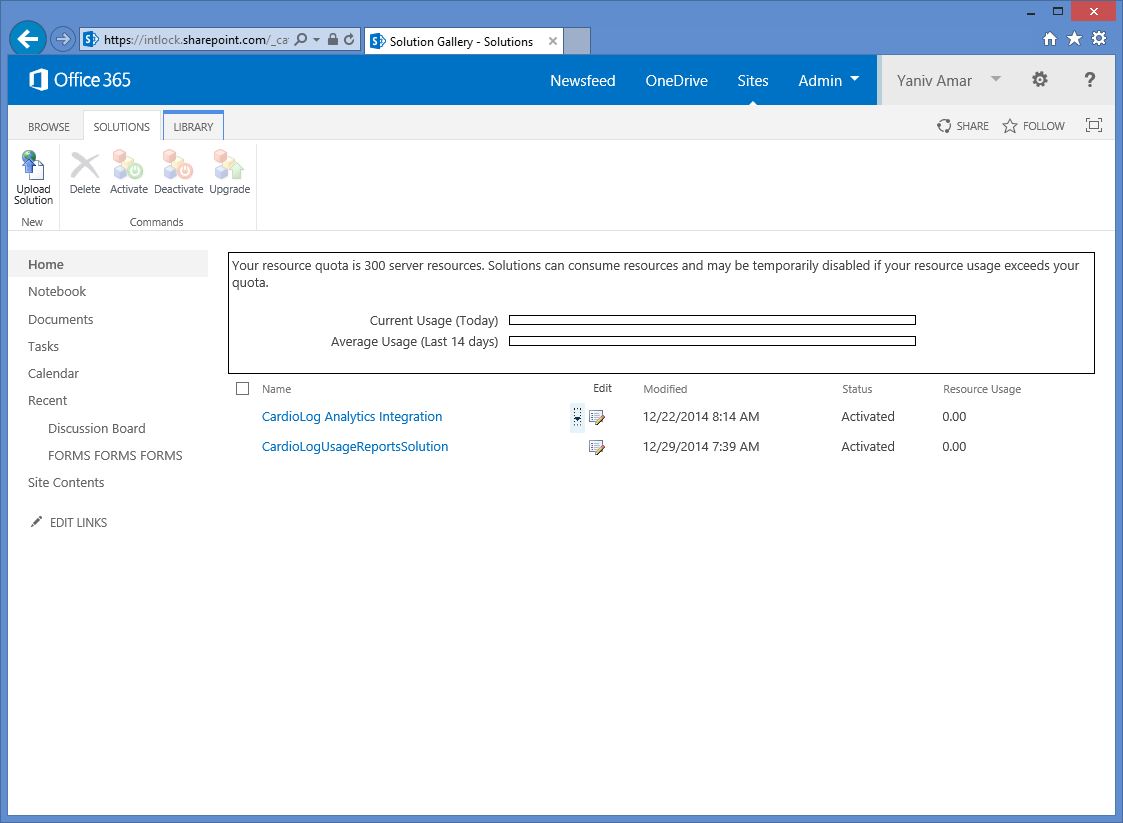
'SharePoint Online' Site Solution Gallery - Click Upload Solution > Choose File > select [CardioLog Installation Folder]\CardioLog\Configuration\AgentFeature\Online\CardioLog Analytics Integration.wsp > Activate
- Browse to CardioLog Analytics Integration solution configuration page (Replace the website root URL with yours): [https://intlock.sharepoint.com]/CardioLogAnalytics/Configuration.2.0.8.0.aspx
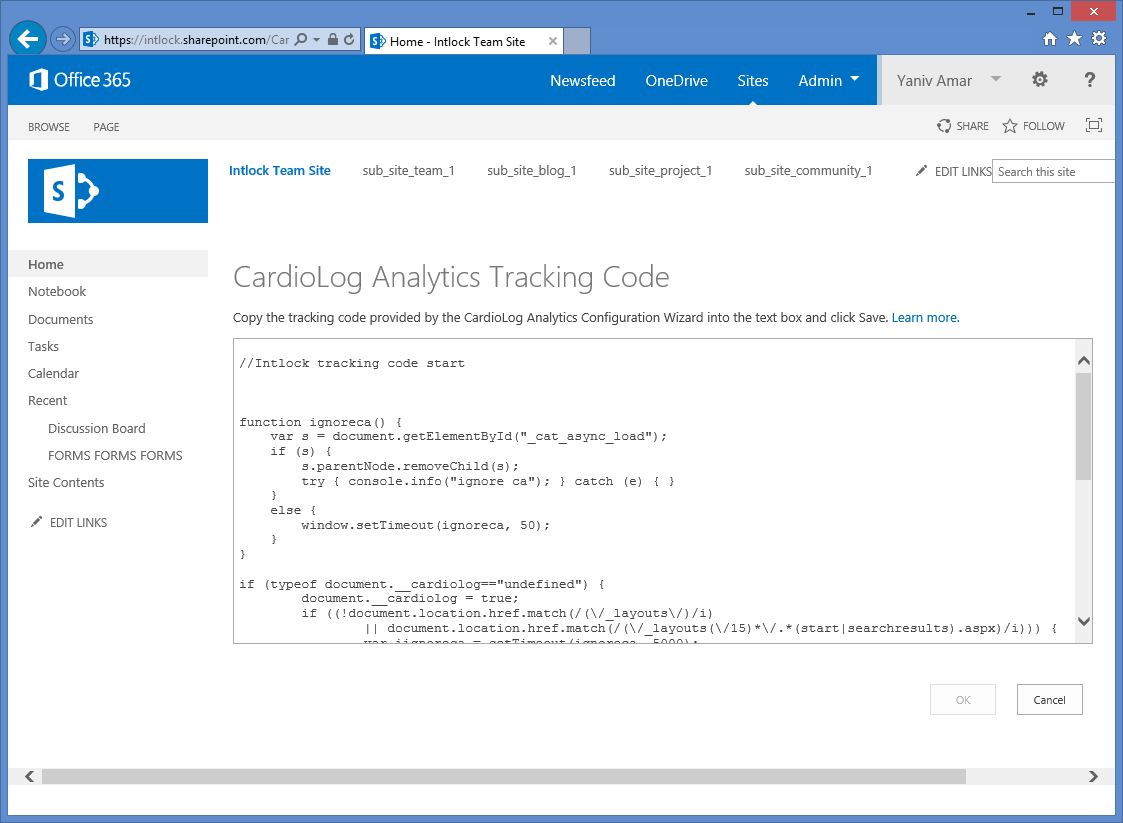
CardioLog Analytics Integration Solution Configuration Page - Copy the code from the Tracking Code box in Step 2 of the Configuration Wizard.
- Edit the tracking code and verify that the all URLs contained in the tracking code that redirect to the CardioLog application server have the public DNS name and appropriate protocol. The URLs should be accessible over the internet. Use HTTPS if you are tracking secured SharePoint Online site collections. You may choose to use HTTP for public websites.
- Add the JavaScript tracking code and click OK.
Uninstalling the CardioLog Analytics Tracking Agent Feature
You can choose between pausing and uninstalling the tracking code from your SharePoint online sites:
- To pause the tracking code, browse to your SharePoint Online site Solution Gallery (edit the website root URL): [https://intlock.sharepoint.com]/_catalogs/solutions/forms/allitems.aspx and deactivate the CardioLog Analytics Integration solution.
- To uninstall the tracking code, deactivate the CardioLog Analytics Integration solution and then delete the solution.
Manually Add the JavaScript Tracking Code to Your Master Pages- Browse to your SharePoint Online site Solution Gallery (Replace the website root URL with yours): [https://intlock.sharepoint.com]/_catalogs/solutions/forms/allitems.aspx
- Open SharePoint Designer and add the SharePoint Online website: Go to Site Templates > Open Site > Enter website root URL (eg., - https://intlock.sharepoint.com/).
- Open Site Objects > Master Pages > *.master (we suggest the seattle.master page) and add the JavaScript tracking code in the <head> tag.
- Verify that all URLs contained in the tracking code that redirect to the CardioLog application server have the public DNS name and appropriate protocol. The URLs should be accessible over the internet. Use HTTPS if you are tracking secured SharePoint Online site collections. You may choose to use HTTP for public websites.
- In order to verify that your SharePoint Online pages are tracked, follow these steps:
- Open a new browser window and click Next Step.
- Delete your browser temporary internet files and click Next Step.
- Browse 3 pages on your SharePoint Online website and click Next Step.
- Click Test Event Collection. The Wizard will now verify usage events tracking.

Step 2 - Usage Tracking
Otherwise, - Navigate to your SharePoint Online site homepage with Internet Explorer, Chrome, or FireFox.
- Press Ctrl+F5 to clear the cache and reload the page.
- While on the SharePoint website page, click Ctrl+F12. The tracking agent console should pop-up, displaying the ID number for the most recent monitored action (event). To close the console, press Ctrl+F12.
In the SharePoint Adaptor dialog, enter a title and root URL of your SharePoint Online Admin Center. Specify the authentication details used to connect to it, then click Next. Loading your SharePoint Online tree structure may take several minutes to a few hours, depending on the number of items in the selected websites.
Note: Please confirm that the CardioLog service account has the SharePoint Administrator role in Office 365 Admin Center.
Configuration Wizard Step 3 - SharePoint Adaptor- In the SharePoint Adaptor dialog, select the SharePoint website(s) you would like to report on, then click Next.

Configuration Wizard Step 3 - SharePoint Adaptor Web Site Selection
- In the Usage Data Processing dialog, click Next.

Configuration Wizard Step 4 - Usage Data Processing - In the Finish dialog, click Finish. Click Show Raw Usage Data to view the usage events collected thus far. The data will be available in reports in the next hour.

Configuration Wizard - Finish