
The "CardioLog Usage Reports" SharePoint Feature enables you to view usage reports from within your SharePoint website, via the "Site Actions" menu. For more information see View CardioLog Analytics Reports from SharePoint's Site Actions Menu.
Access to generated report URLs is based on the logged-on user's permissions in SharePoint (available only when using the CardioLog Analytics SharePoint Feature).

SharePoint Site Actions Menu
CardioLog Usage Reports for SharePoint On Premise
In order to install the CardioLog Usage Reports SharePoint Feature for use with SharePoint On Premise, perform the following steps:
Go to [CardioLog Installation Folder]\CardioLog\Setup Files\wsp. The following solutions should be available:
Name Solution Scope Feature Scope Permission Level Auto Activated CardioLog-Usage-Reports-SharePoint-Feature-Global-FarmActivation Farm Farm Read Yes CardioLog-Usage-Reports-SharePoint-Feature-Global-SiteCollectionActivation Farm Site Collection Read No CardioLog-Usage-Reports-SharePoint-Feature-SpecificWebAppDeployment Web Application Site Collection Read No CardioLog-Usage-Reports-SharePoint-Feature-FullControlOnly Farm Site Collection Full Control No CardioLog-Usage-Reports-SharePoint-Feature-Global-FarmActivation-ContributeOnly Farm Farm Contribute Yes CardioLog-Usage-Reports-SharePoint-Feature-Global-SiteCollectionActivation-ContributeOnly Farm Site Collection Contribute No Note: The "Site Statistics" option will be added to the SharePoint Site Actions menu and visible to everyone with the specified permission level (or higher).
- Drop the desired "CardioLogUsageReportsSolution.wsp" solution file on your SharePoint application server in C:\Program Files\Common Files\Microsoft Shared\web server extensions\1X\BIN\ (Where 1X is 12 for MOSS 2007; 14 for SharePoint 2010; 15 for SharePoint 2013, 16 for SharePoint 2016)
Execute the following commands from command prompt in order to add and deploy the solution to the SharePoint farm. Edit the BIN directory path: C:\Program Files\Common Files\Microsoft Shared\web server extensions\1X\BIN (Where 1X is 12 for MOSS 2007; 14 for SharePoint 2010; 15 for SharePoint 2013, 16 for SharePoint 2016):
If you have selected a solution that does not auto activate, you can activate the CardioLog Usage Reports feature for the site collection of your choice by navigating in SharePoint to Site Actions > Site Settings > Site Collection Administration > Site collection features > Activate the "CardioLog Usage Reports" feature.
- Edit the following file on all SharePoint WFEs: C:\Program Files\Common Files\Microsoft Shared\web server extensions\1X\TEMPLATE\LAYOUTS\CardioLogAgent\web.config (Where 1X is 12 for MOSS 2007; 14 for SharePoint 2010, SharePoint 2013, SharePoint 2016)
- <add key="EnableSpSecurity" value="true" /> Mandatory - Edit the value to be either true or false. To enable SharePoint permissions inheritance value should be true.
- <add key="SpSecurityClaimsAuthentication" value="true" /> Optional - Edit the value to be either true or false. When using claims based authentication in SharePoint value should be true.
- <add key="SpSecurityPermissionLevel" value="View Only,Edit,Approve" /> - Optional - Edit the value to be a relevant SharePoint permissions level, in a comma delimited list. If none selected, "Full Control" will be used and only users with full control access to the SharePoint site will have access to the report.
Note: The following permission levels are available:
SharePoint 2007 and SharePoint 2010 - "Full Control," "Design," "Contribute," "Read," "Limited Access"
SharePoint 2013 and SharePoint 2016 - "View Only," "Edit," "Approve," "Manage Hierarchy," "Restricted Read," "Restricted Interfaces for Translation"
- <add key="SpSecurityCheckWebAppPolicies" value="true" /> - Optional - Edit the value to be either true or false. Enable this only if permissions are given from central admin through policy and not directly from the site.
- Edit the following file on the CardioLog application server: [CardioLog Installation Folder]\CardioLog\web.config
- <add key="EnableSpSecurity " value="true" /> Mandatory - Edit the value to be either true or false. To enable SharePoint permissions mirroring, the value should be true.
Note: If you would like to uninstall the site statistics feature, please deactivate it first on every site collection.
CardioLog Usage Reports for SharePoint Online
- In your SharePoint Online site Solution Gallery browse to: https://intlock.sharepoint.com]/_catalogs/solutions/forms/allitems.aspx Edit the base URL to match your site.
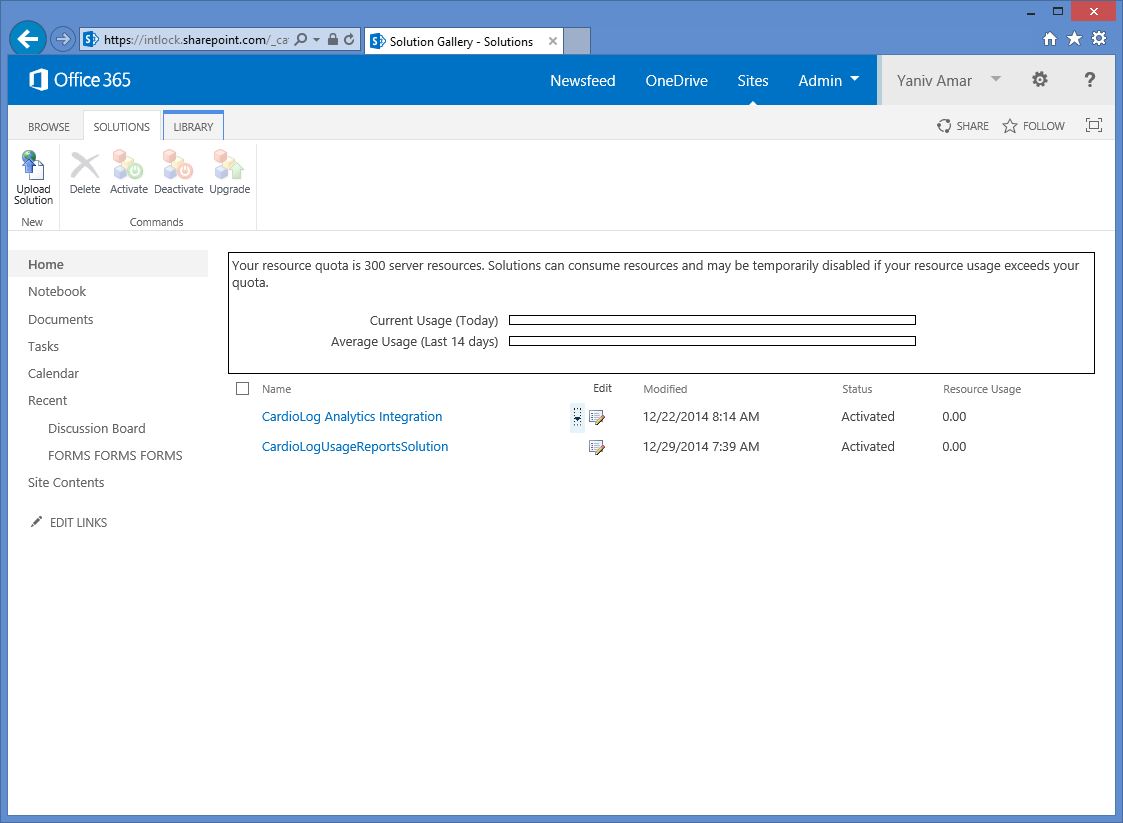
'SharePoint Online' Site Solution Gallery
- Select Upload Solution > Choose File > and select [CardioLog Installation Folder]\Setup Files\wsp\CardioLog-Usage-Reports-SharePoint-Feature-Global-SiteCollectionActivation\CardioLogUsageReportsSolution.wsp and then click Activate.
- Navigate to CardioLog Analytics Integration solution configuration page in your browser: [https://intlock.sharepoint.com]/CardioLogAnalytics/Configuration.2.0.8.0.aspx Edit the base URL to match your site.
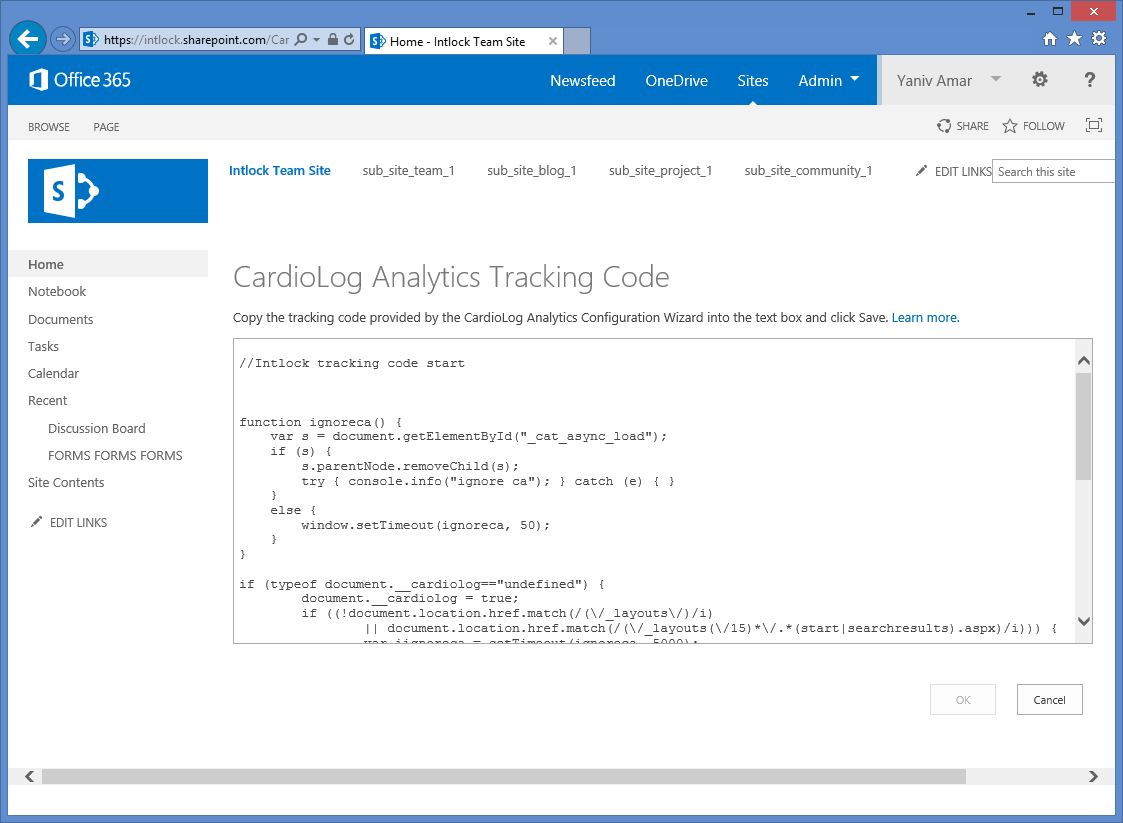
CardioLog Analytics Integration Solution Configuration Page
Edit the tracking code and add the following value to the configuration settings and click OK. Edit the CardioLog server public DNS name used in your system, the URL should be accessible over the internet.

- Go to the CardioLog application server, open IIS, expand the CardioLog website and CardioLogAgent web application, switch to Content View, click the ReportDispatcher.aspx page and select Switch to Features View, choose Authentication, enable Windows Authentication and disable Anonymous Authentication.
